KB 903306 - How to Connect GNS3 (Windows) to a Remote Server
Purpose
This article explains how to connect GNS3 installed on Windows to a remote GNS3 server.This is useful when the remote server has more CPU and RAM.
Connecting to a remote server helps when your local computer does not have enough CPU or RAM to run large lab topologies. In this setup, the remote server handles all device processing, which improves performance, stability, and allows you to run bigger labs smoothly without overloading your PC.
Windows PC → GNS3 GUI installed
https://www.gns3.com/software/download
https://www.gns3.com/software/download
Remote Server → GNS3 Server running ( GNS3 Server installed on remote machine)
Remote Server IP Example:
192.168.18.199
Port:
3080/80
Steps to Connect
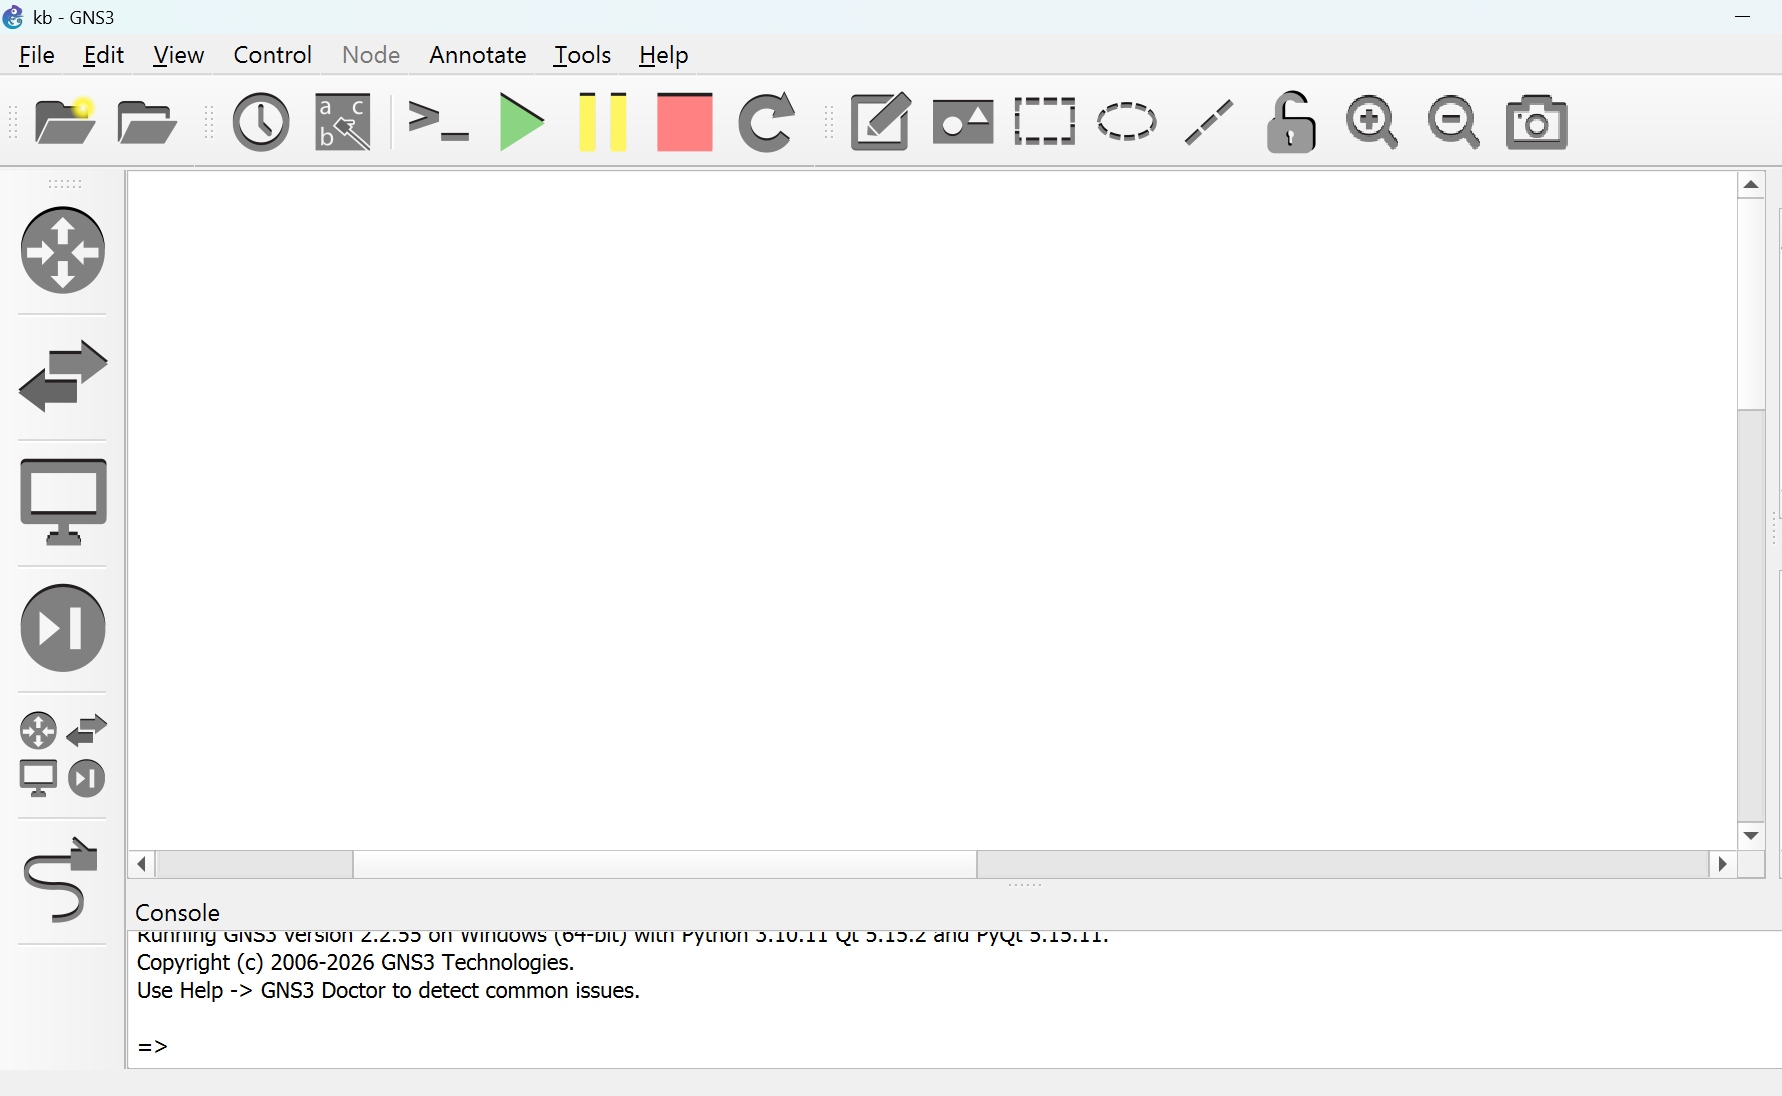
Step 1: Open GNS3
Open GNS3 on your Windows PC.
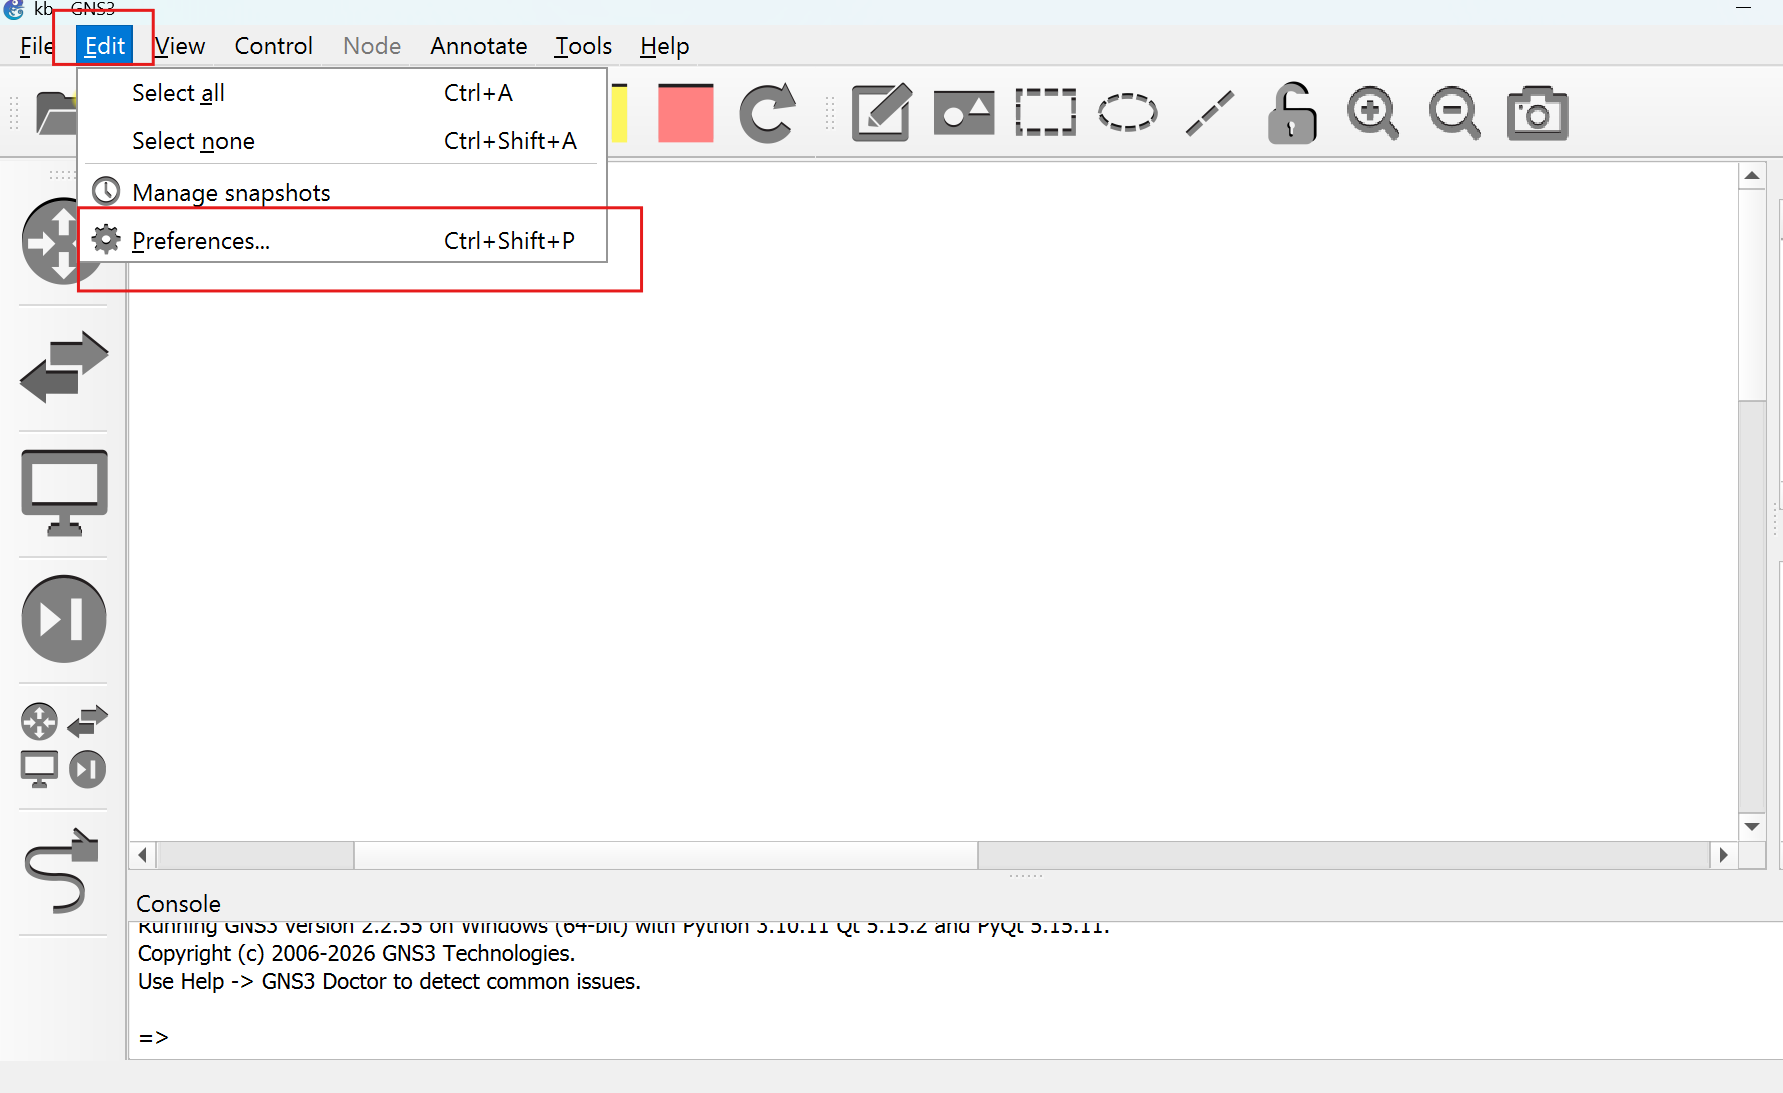
Step 1: Go to Preferences
Click:
Edit → Preferences
Step 3: Add Remote server
Go to:
Server → Remote Servers
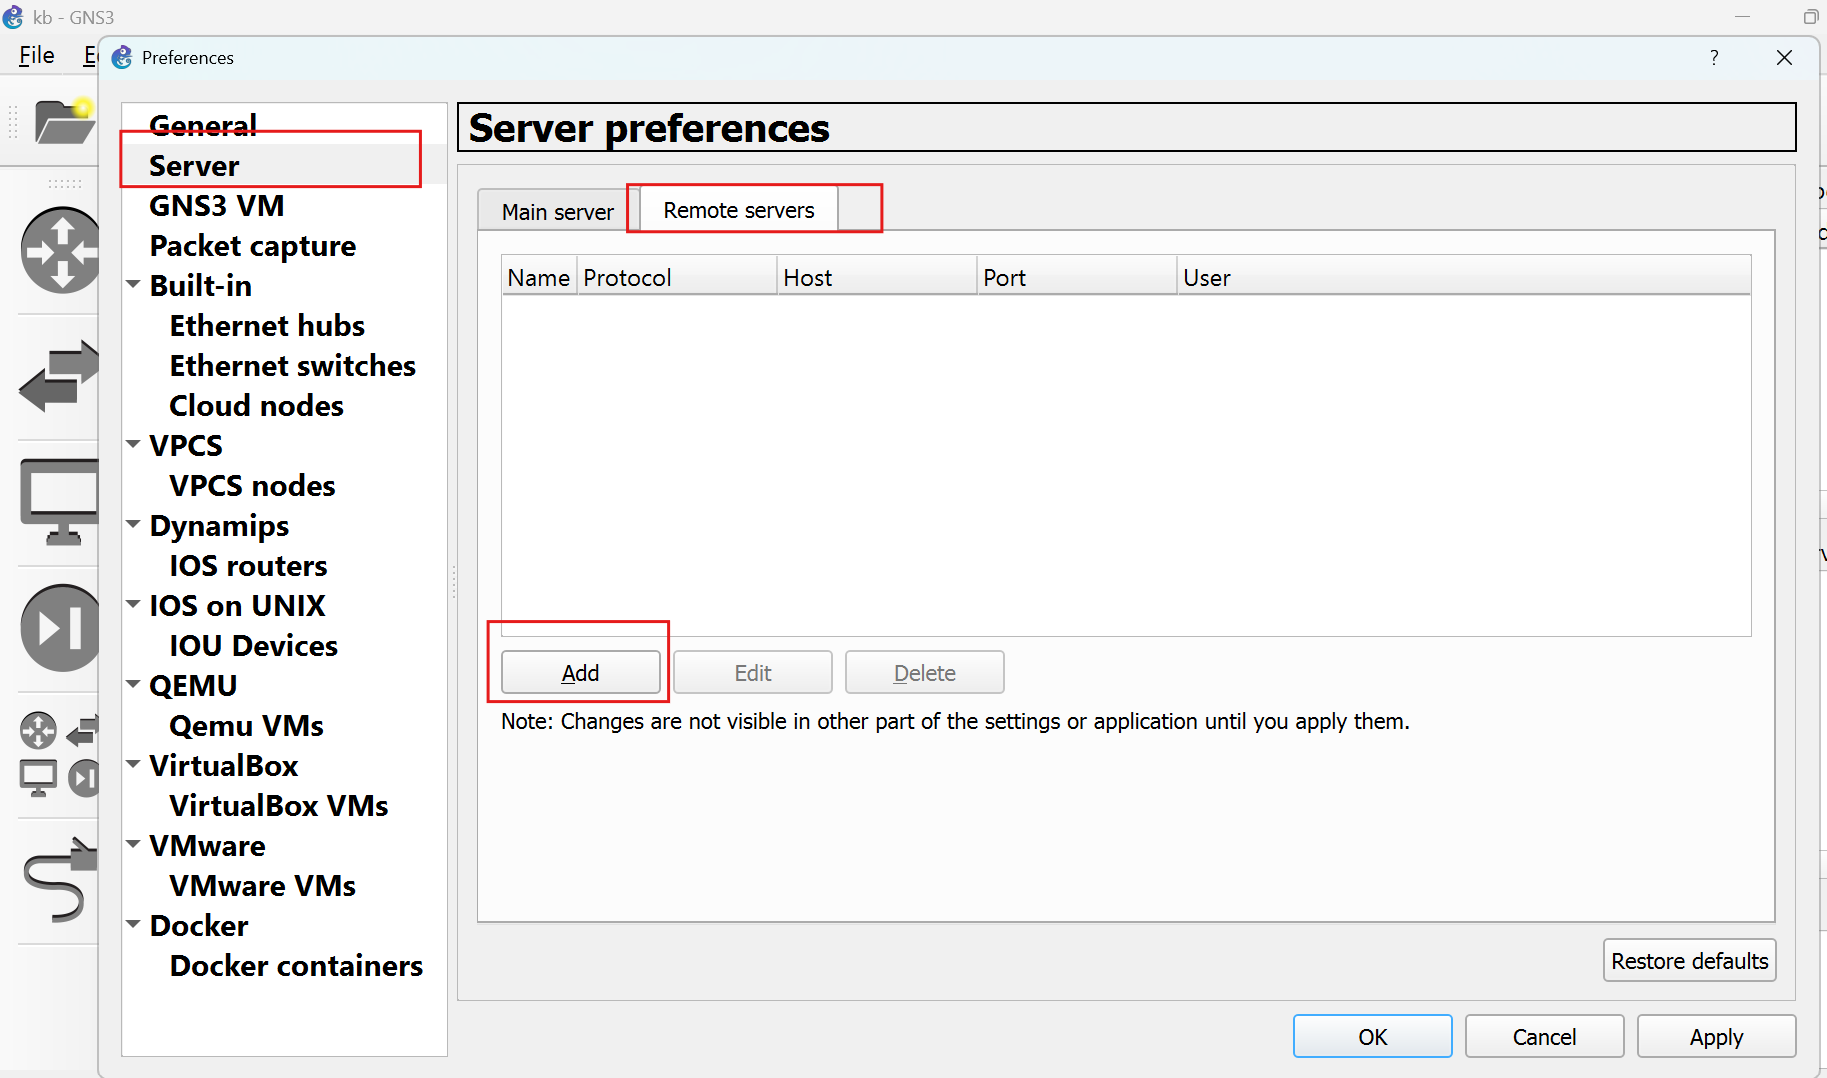
Click Add
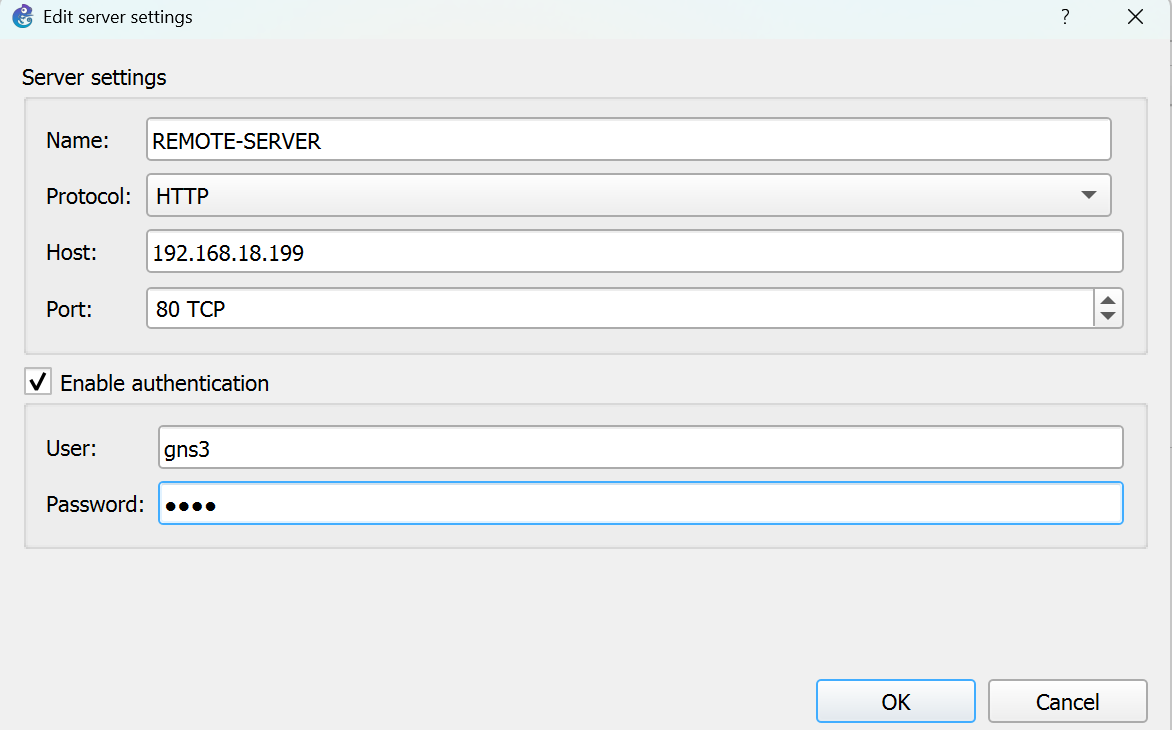
Name: REMOTE-SERVERProtocol: HTTP
Host: 192.168.18.199Port: 80
User: gns3
password: gns3
Click OK
Step 4: Select Remote Server
Go to:
Server → Main Server
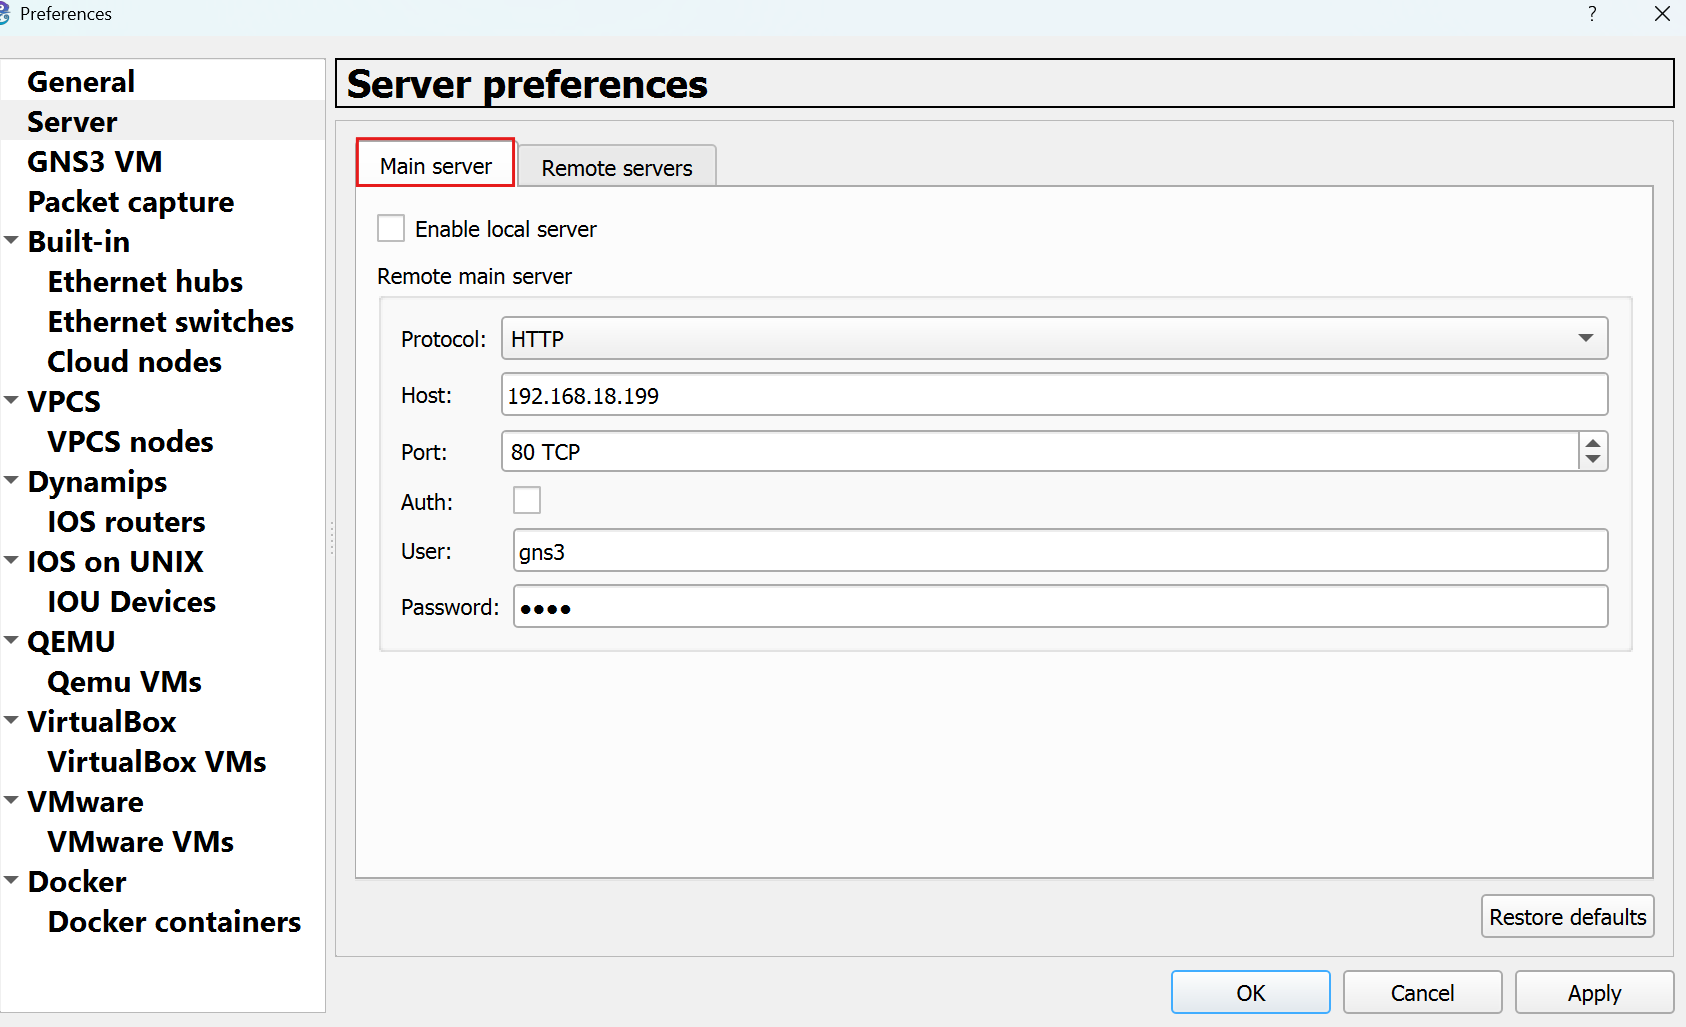
Select:
Choose your added server.
Click Apply → OK
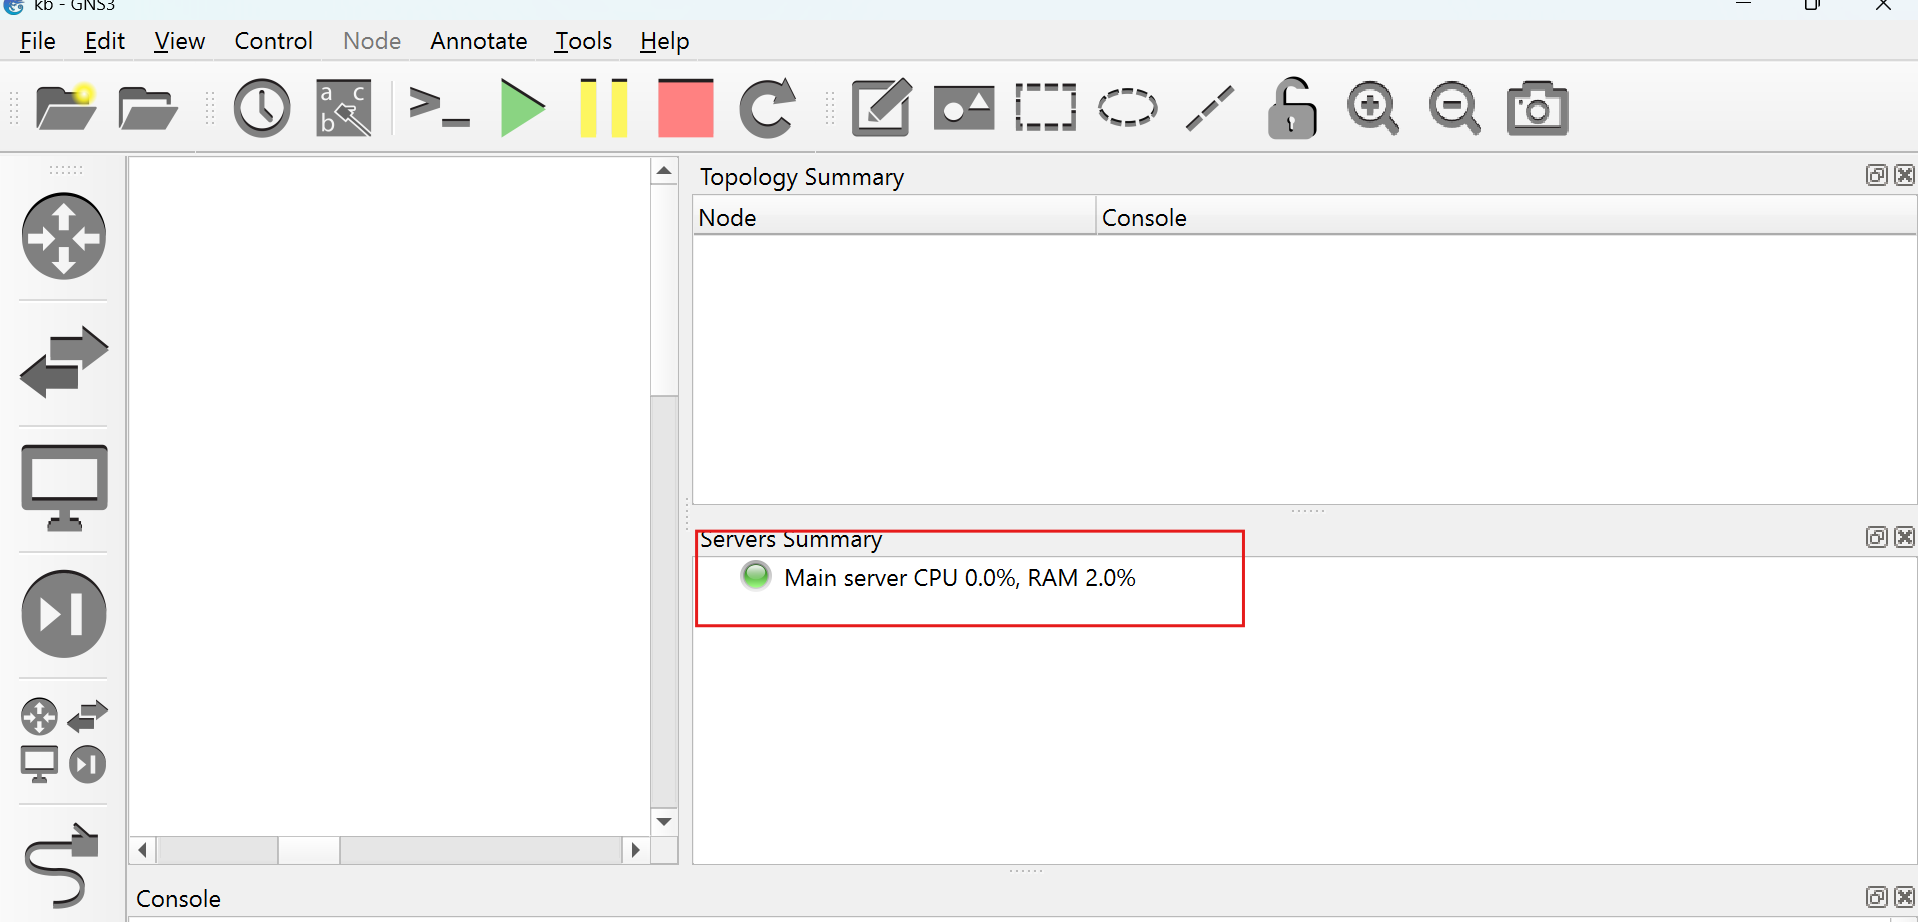
Step 5: Verify Connection
Status shows Connected