KB 559007 - UBUNTU 23.04 Desktop Installation
UBUNTU 23.04 Desktop Installation
Before you begin, ensure that you have a storage plan and raid configuration (Servers) on your systems. It is recommended that you install Ubuntu on a separate disc to protect your data in the scenario where the OS fails.
Download Ubuntu
An Ubuntu image can be downloaded from https://ubuntu.com/download/desktop. In this KB, we'll be using the Ubuntu 23.04 release, which practices the new Ubuntu Desktop setup, which will be included in all future Ubuntu releases. Unlike Ubuntu Desktop, Ubuntu Server does not come with a graphical installation program. It instead uses a text-based menu-based process. If you prefer graphical interaction, you can install the desktop version.
If you're installing an older version of Ubuntu, such as 22.04 LTS, the visual presentation of the installer will be different, but the overall flow should be the same.

Create a Bootable USB stick
To install Ubuntu Desktop, you need to write your downloaded ISO to a USB stick to create the installation media. Download Rufus software to write installation media to a usb stick
Once you create the installation media, Insert the USB flash drive into the PC you want to use to install Ubuntu and boot or restart the device. It should recognize the installation media automatically. If not, try selecting the USB device from the system-specific boot menu.
Installation and Setup
Once the installer has initialized you will be invited to choose your language

And then presented with the option to try or install Ubuntu. To proceed, click Install Ubuntu.
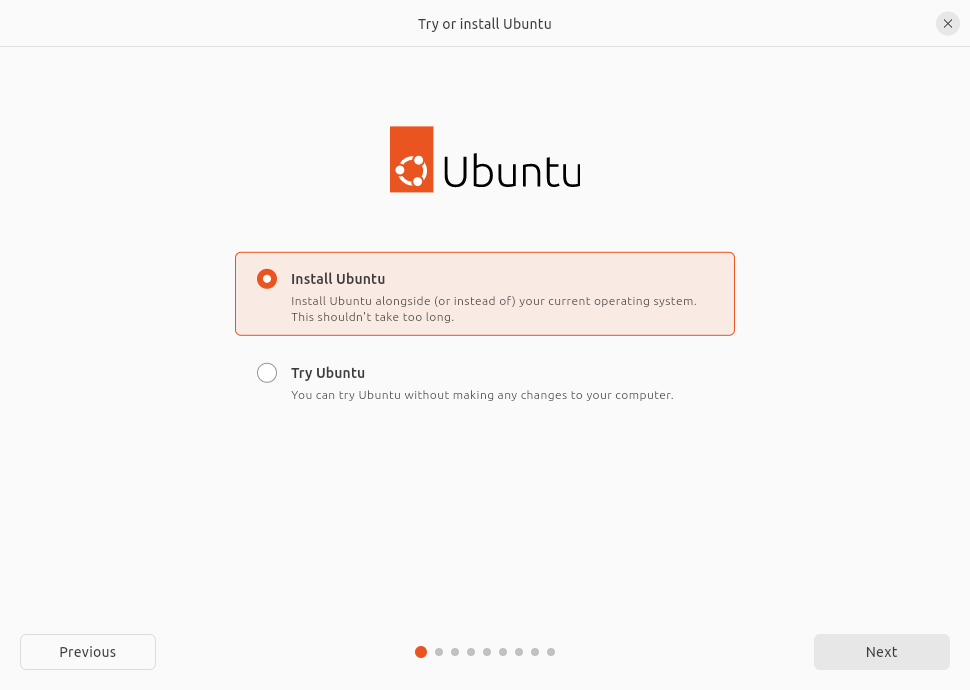
From next page, You will be asked to select your keyboard layout. Once you’ve chosen one, click Continue.

Next you will be asked to connect to wi-fi, this will allow Ubuntu to download updates and third party drivers (such as NVIDIA graphics drivers) during installation. Once you have connected to wi-fi (or chosen to proceed offline) then we can continue to the installation setup.
(Alert) RST is enabled
Some PC’s use Intel RST (Rapid Storage Technology) which is not supported by Ubuntu. If this is the case then you will not be able to proceed beyond this point without disabling RST in the bios menu of your machine. If you encounter this pop-up please visit help.ubuntu.com/rst for more information.

From the next page:- You will be prompted to choose between the Normal installation and Minimal installation options. The minimal installation is useful for those with smaller hard drives or who don’t require as many pre-installed applications.
In Other options, you will be prompted to download updates as well as third-party software that may improve device support and performance (for example, Nvidia graphics drivers) during the installation. It is recommended to check both of these boxes.

Next screen allows you to configure your installation. If you would like Ubuntu to be the only operating system on your hard drive, select Erase disk and install Ubuntu.
If your device currently has another operating system installed, you will receive additional options to install Ubuntu alongside that OS rather than replacing it.
Select Erase disk and install Ubuntu. and select the disc to install OS, Ubuntu will take up the entire disk space on the selected drive.
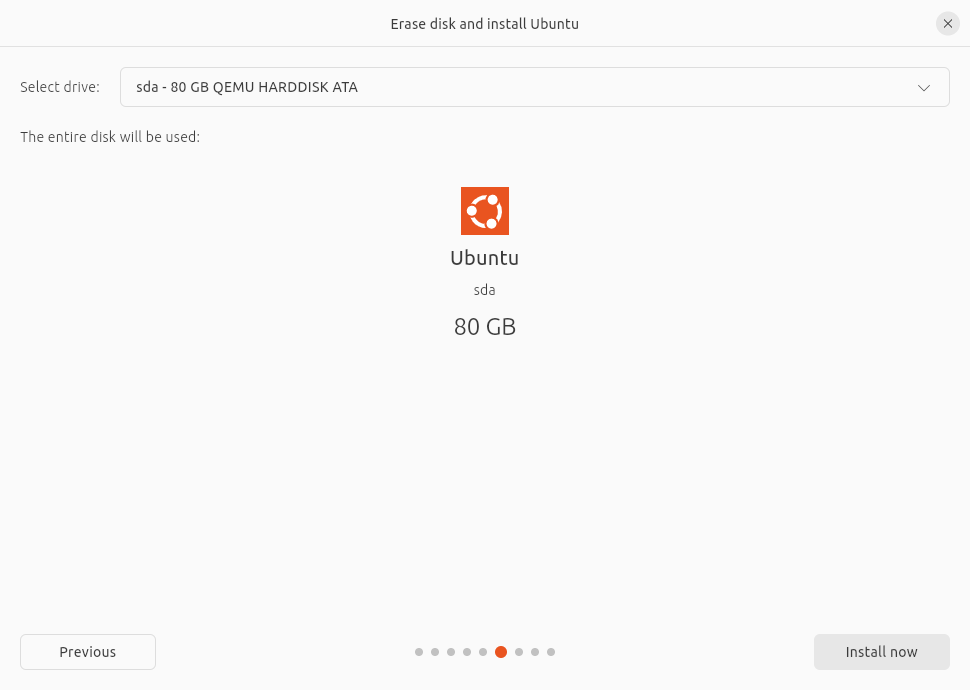
In the following step you will be prompted to create a Security key that you will need to enter on boot before logging in with your user credentials.

clicking Next will take you to a summary of your installation configuration to give you a chance to confirm your setup before clicking Install

Once you proceed, Ubuntu will begin the installation process in the background and you will not be able to return to this point.
When the installation is finished, the system will restart, and you will be prompted to select your location and timezone from the map screen before clicking Continue.
If you are connected to the internet, this information will be detected automatically.

Following ,You'll be asked to enter your name and the name of your machine with a username and a secure password.

Once the installation has completed, you will be prompted to restart your machine.
Click Restart Now.
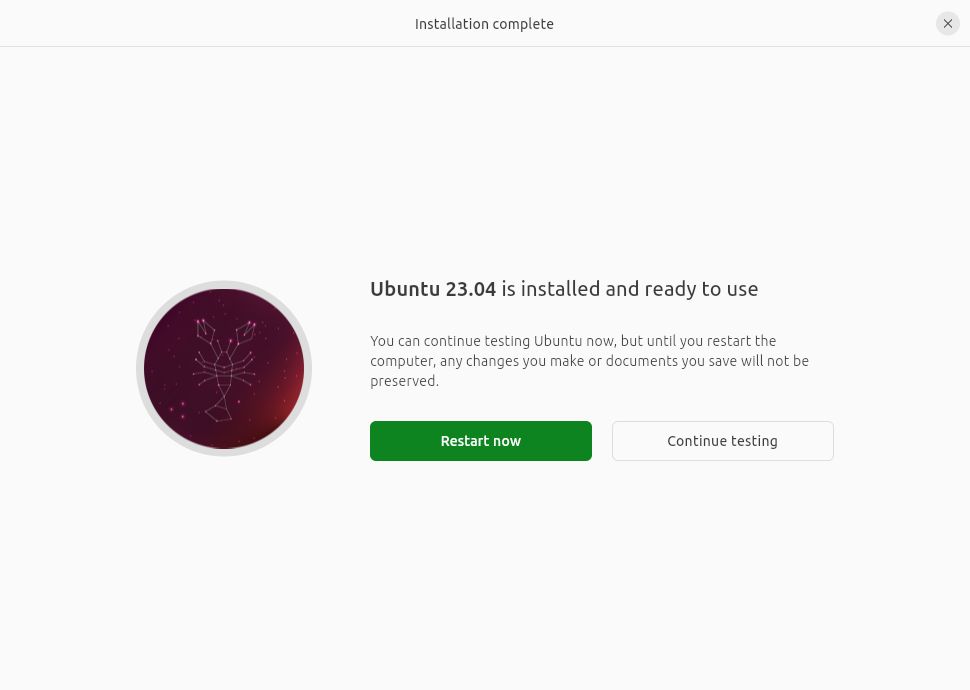
When you restart, you will be prompted to remove your USB flash drive from the device. Once you’ve done this, press ENTER.
The welcome widget will help you with some additional setup options, including:
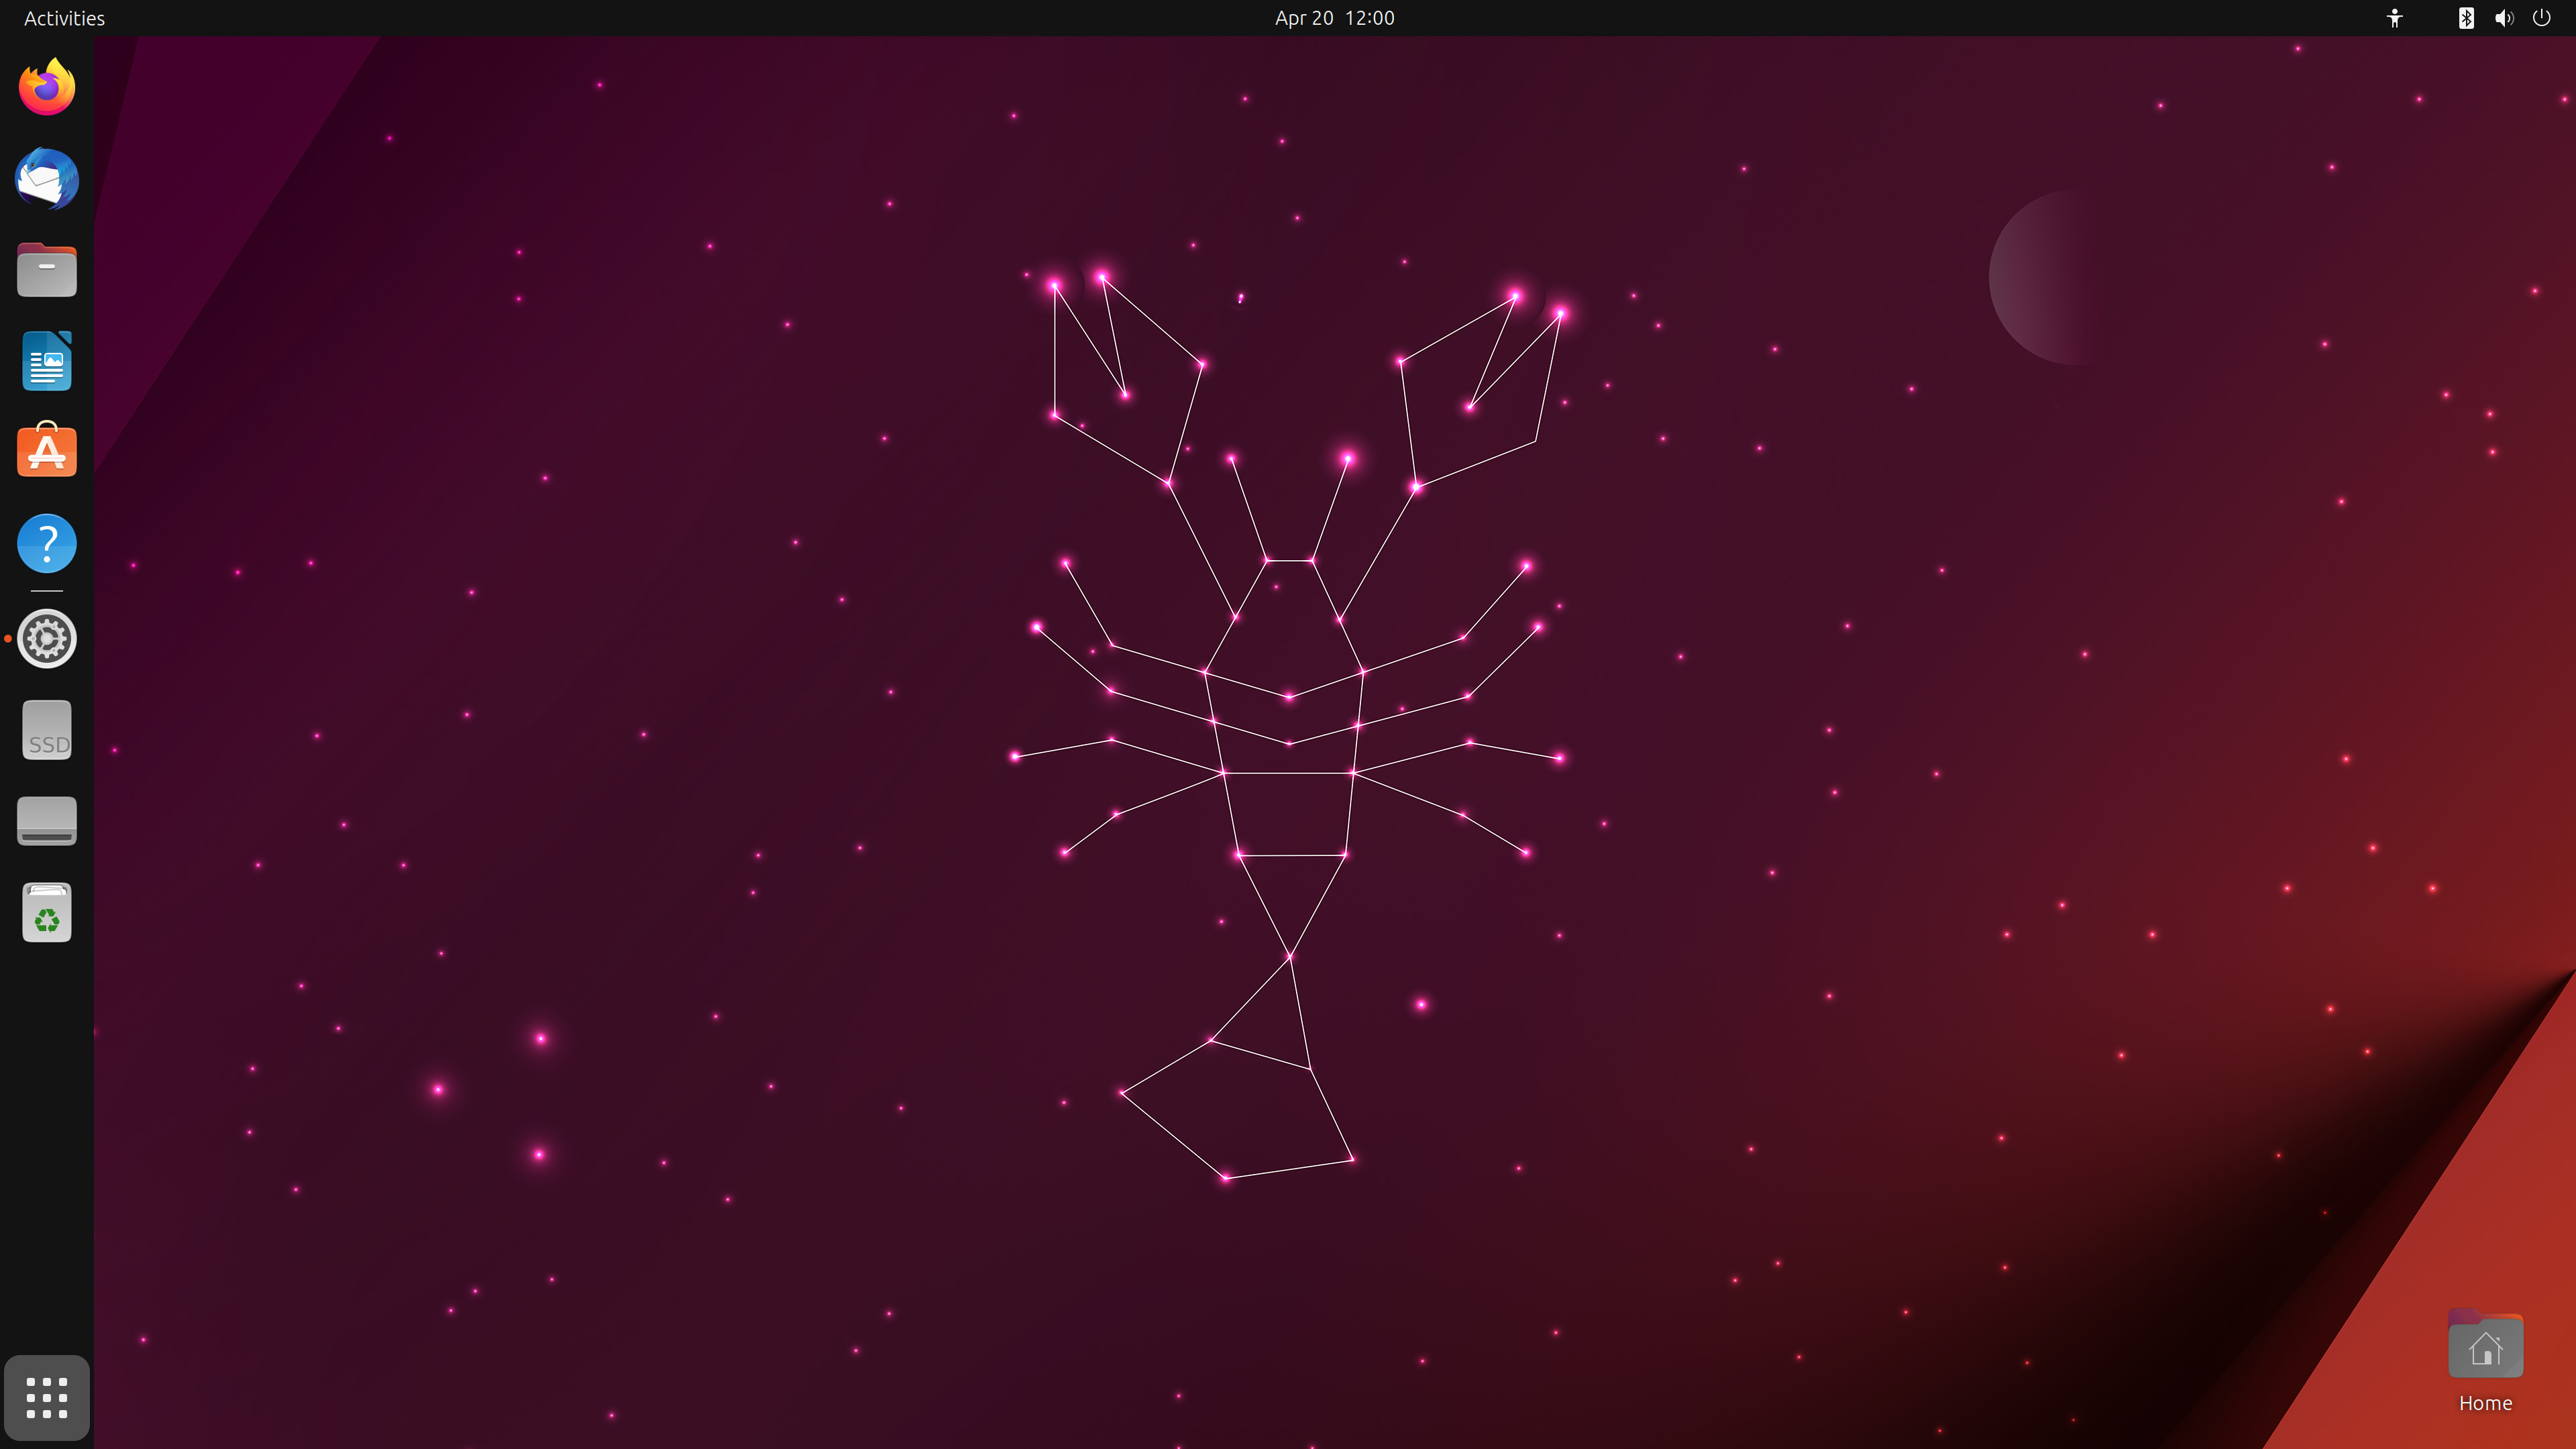
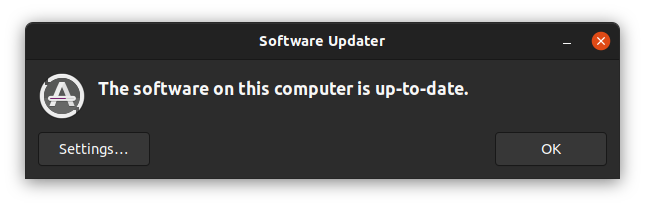
It’s always good practice to ensure your system is up to date, especially after a fresh install.
The easiest way to do this is via the Software Updater app. Search for Software Updater via the app menu (the icon with 9 squares in the bottom corner of your window) and it will check for updates and apply them.
You can also update Ubuntu using the terminal.
Press CTRL+ALT+T to bring up a Terminal window (or click the terminal icon in the sidebar).
Type in:
sudo apt update
You will be prompted to enter your login password.
This will check for updates and tell you if there are any that need applying. To apply any updates, type:
sudo apt upgrade
Type Y, then press ENTER to confirm to finish the update process.