KB 309001 - XQubeSAN(QSAN) 3312-2U-12BAY Initial Setup and Storage Configuration
XQubeSAN(QSAN) 3312-2U-12BAY Initial Setup and Storage Configuration
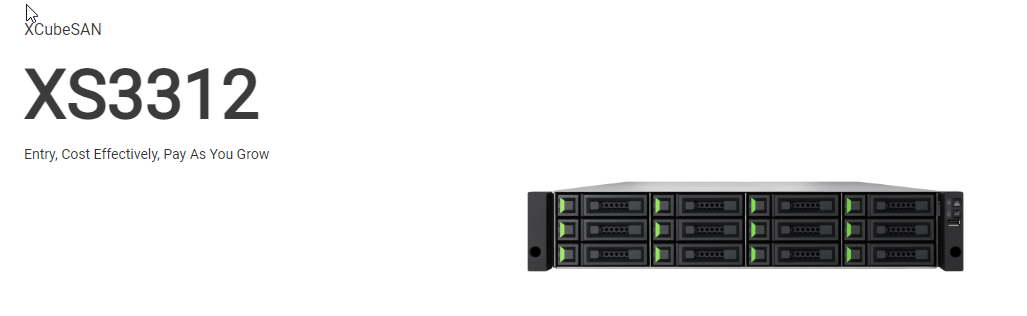
The XCubeSAN 3312 (3.5" 2U 12-bay) is a cost effective hybrid flash storage system. In the face of rapid and unpredictable SMB growth, the XS3312's ability to pay as you go makes it an excellent solution.
Excellent performance is ideal for modern enterprise applications like virtualization, media editing, large-scale surveillance, and backup.
Set-up
- Connect the power cables from each power supply module to a power source.
- Turn on any network switches, routers, or other stand-alone components.
- Turn on any expansion enclosures that are part of the system.
- Press the power button on the front of the XCube system to turn it on.
Discover the System
In QSAN device, the management IP address is assigned via DHCP by default.
QSAN provides the XFinder Java utility to search for their products on the network and provide quick access to the XEVO web interface login page.
To download XFinder, please visit: https://www.qsan.com/download_center
QFinder is a Java-based program. To execute this program, JRE (Java Runtime Environment) is required. You can visit the following website to download and install JRE: http://www.java.com/download After JRE is installed, run the XFinder.jar program.
The storage system on your network will be detected and listed in the table. Choose the system you want. Double-clicking the selected entry will launch the browser and display the login page.
Double-clicking the selected entry will launch the browser and display the login page.
The Initial configuration wizard will guide the first time user to initialize and setup the system quickly.
1.To access the XEVO web interface, you have to enter a username and password.
The initial defaults for the administrator login are:
- Username: admin - Password: 1234
2.Enter a system name and change the admin’s password.
3.Select a Time Zone depending on your location. Set the local Date and Time. Date and time can be set by manually
or synchronized with a NTP
Click the Next button to proceed.
4.Confirm or change the management port IP address and DNS server. Click the Apply button to complete the initial configuration.
5.After all configurations are set up, the system will redirect your page to the new IP address you just set for the management port. Then you have to
login with new admin password.
After initial setup, the next step is to configure the specific storage settings. To deploy your storage, you have to go to the Storage tab first.
- Click the “+” icon at the left-top of the Storage tab to pop up a
Create Pool wizard
- Click the “+” button to add disks.
- The system will suggest the default Raid configurations depend on the amount of disks you have selected. Click the Next button to proceed.
- Adjust the capacity of the volume to be created and select its block
size. Click the Next button to proceed.
- Next:- Select a host group or leave the option Forbid All Connections and set it
later. Click the Apply button to proceed.
- From the next page its pullout the summary of all processes. Click the finish button to complete the wizard.