Bulk OS Installation using PXE Boot and FOG Project

Installation Procedure
· Setup FOG Server: Install and configure FOG server on a dedicated machine.
· Prepare Images: Prepare the disk images that we want to deploy to our target computers. This involves installing the operating system and any required software on a reference machine, then capturing an image of the disk using FOG.
· Capture Image: Boot the reference machine using PXE boot or USB boot into the FOG environment. Use the FOG web interface to initiate the image capture process. FOG will create an image of the disk and store it on the FOG server.
· Deploy Image: Boot the target computers that we want to image using PXE boot or USB boot into the FOG environment. Use the FOG web interface to deploy the image to the target computers. FOG will copy the image from the server to the target computers' hard disks.
Connectivity
Diagram
Steps to Follow
1. Setup FOG Server
In Ubuntu 16 or higher, install the fog server with below command
sudo -i
cd /root
git clone https://github.com/FOGProject/fogproject.git
cd fogproject
sudo -i
cd /root/fogproject/bin
/installfog.sh
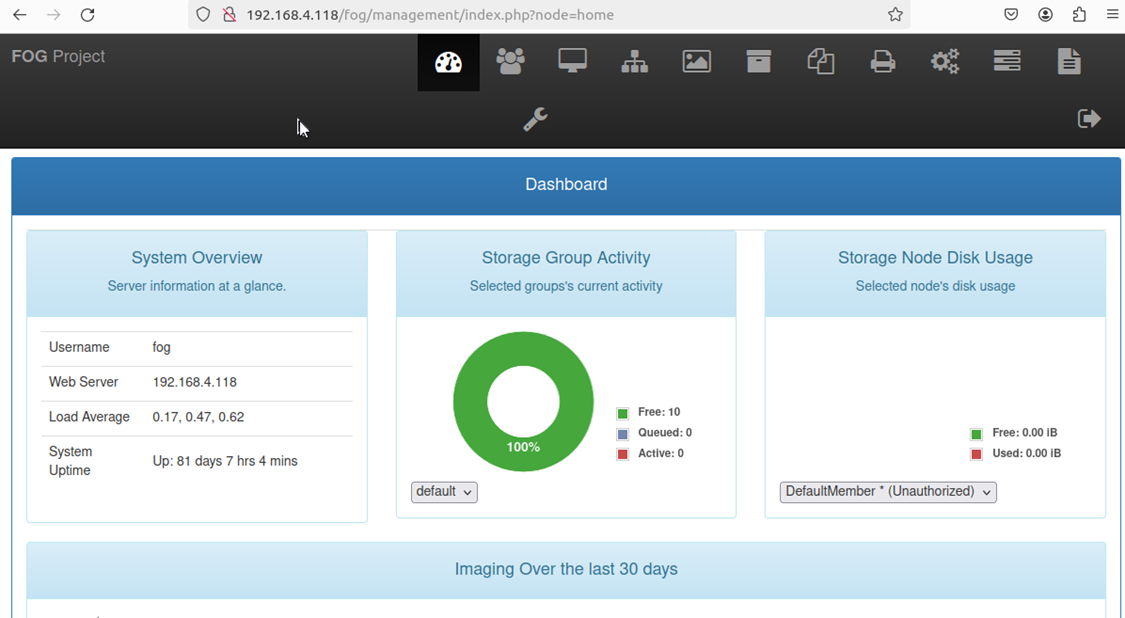
After installation, navigate to http://XXX.XXX.XXX.XXX/fog/
Click on Install/Update Now
 2. Prepare Images
Install the operating system in the new machine.
· Install any required drivers, updates, and applications that we want to include in the image.
· Use Sysprep to generalize the installation. This ensures that the image can be deployed to multiple computers without conflicts. Run Sysprep and choose the "Generalize" option. This removes unique system identifiers and prepares the system for imaging.
3. Capture Image
·
Boot
the new machine using PXE boot into the FOG environment.
Steps to follow
- Navigate
to Image Management' 'Create New Image':
- Give
the new image a name and choose the Operating System
- Click
on Add
- Navigate
to 'Host Management' 'List All Hosts'
and click on the machine we just registered
- Choose
the 'Host Image' drop-down box, and select the image we created.
- Click
on 'Update'
- Navigate
to Host Management and go to 'Basic Tasks' and choose 'Capture':
- Start
new machine and make sure it boots from the network.
- When
the capture has completed, FOG will update the database and the machine will
reboot.
4. Deploy Image
- Boot
the new machine using PXE boot into the FOG environment.
- Register
the Host
- Deploy
the Image
Steps to follow
Reference
https://wiki.fogproject.org/wiki/index.php?title=FOGUserGuide#Installing_FOG
https://docs.fogproject.org/en/latest/kb/how-tos/
Related Articles
How to Install Windows 11 without Internet Connection / How to disable or bypass Wi-Fi connectivity while the initial setup of Windows 10/11
How to bypass this window while loading OS Resolution-1: Follow the below steps to bypass the internet connection page. From this current window --> Press Shift + F10 to open the CMD --> and type the below command --> >OOBE\BYPASSNRO It will reboot ...SSL Certificate Conversion to PFX Format for Secure Installation on SAP RDP Servers
SSL to PFX Converter: Secure Certificate Setup for SAP RDP Servers. Download the SSL certificate from the corresponding domain's hosting provider. Convert P7B to PFX Use the below command to proceed with the changes # openssl pkcs7 -print_certs -in ...Draw.io - Way of flow
What is draw.io? The easiest way for Confluence teams to collaborate using diagrams, free and open-source software. : Collaborate on diagrams and whiteboards in real-time. More installs than all Confluence diagramming apps combined. Best-in-class ...Enable Online Archiving via PowerShell for All Users
Follow the steps below to enable the Online archive for all users through PowerShell Use cases: This is to enable the online email archive for all users and other functioning email accounts using a single command line using PowerShell. Applies to: ...Sophos SSL VPN Profile configuration different office locations
Follow the steps to configure and download the different office site's SSL VPN profile If working remotely, a VPN connection is required to access the different Sites' network resources. Download the required VPN Profile URLs for different office ...